A replacement for the Brother QL‑700 P‑touch software that allows you to create labels and print them straight to a QL‑700 printer over WebUSB.
Open the editor Set up the printer first →
This browser has no WebUSB, so it can design but not print. Use Google Chrome or Microsoft Edge to print.
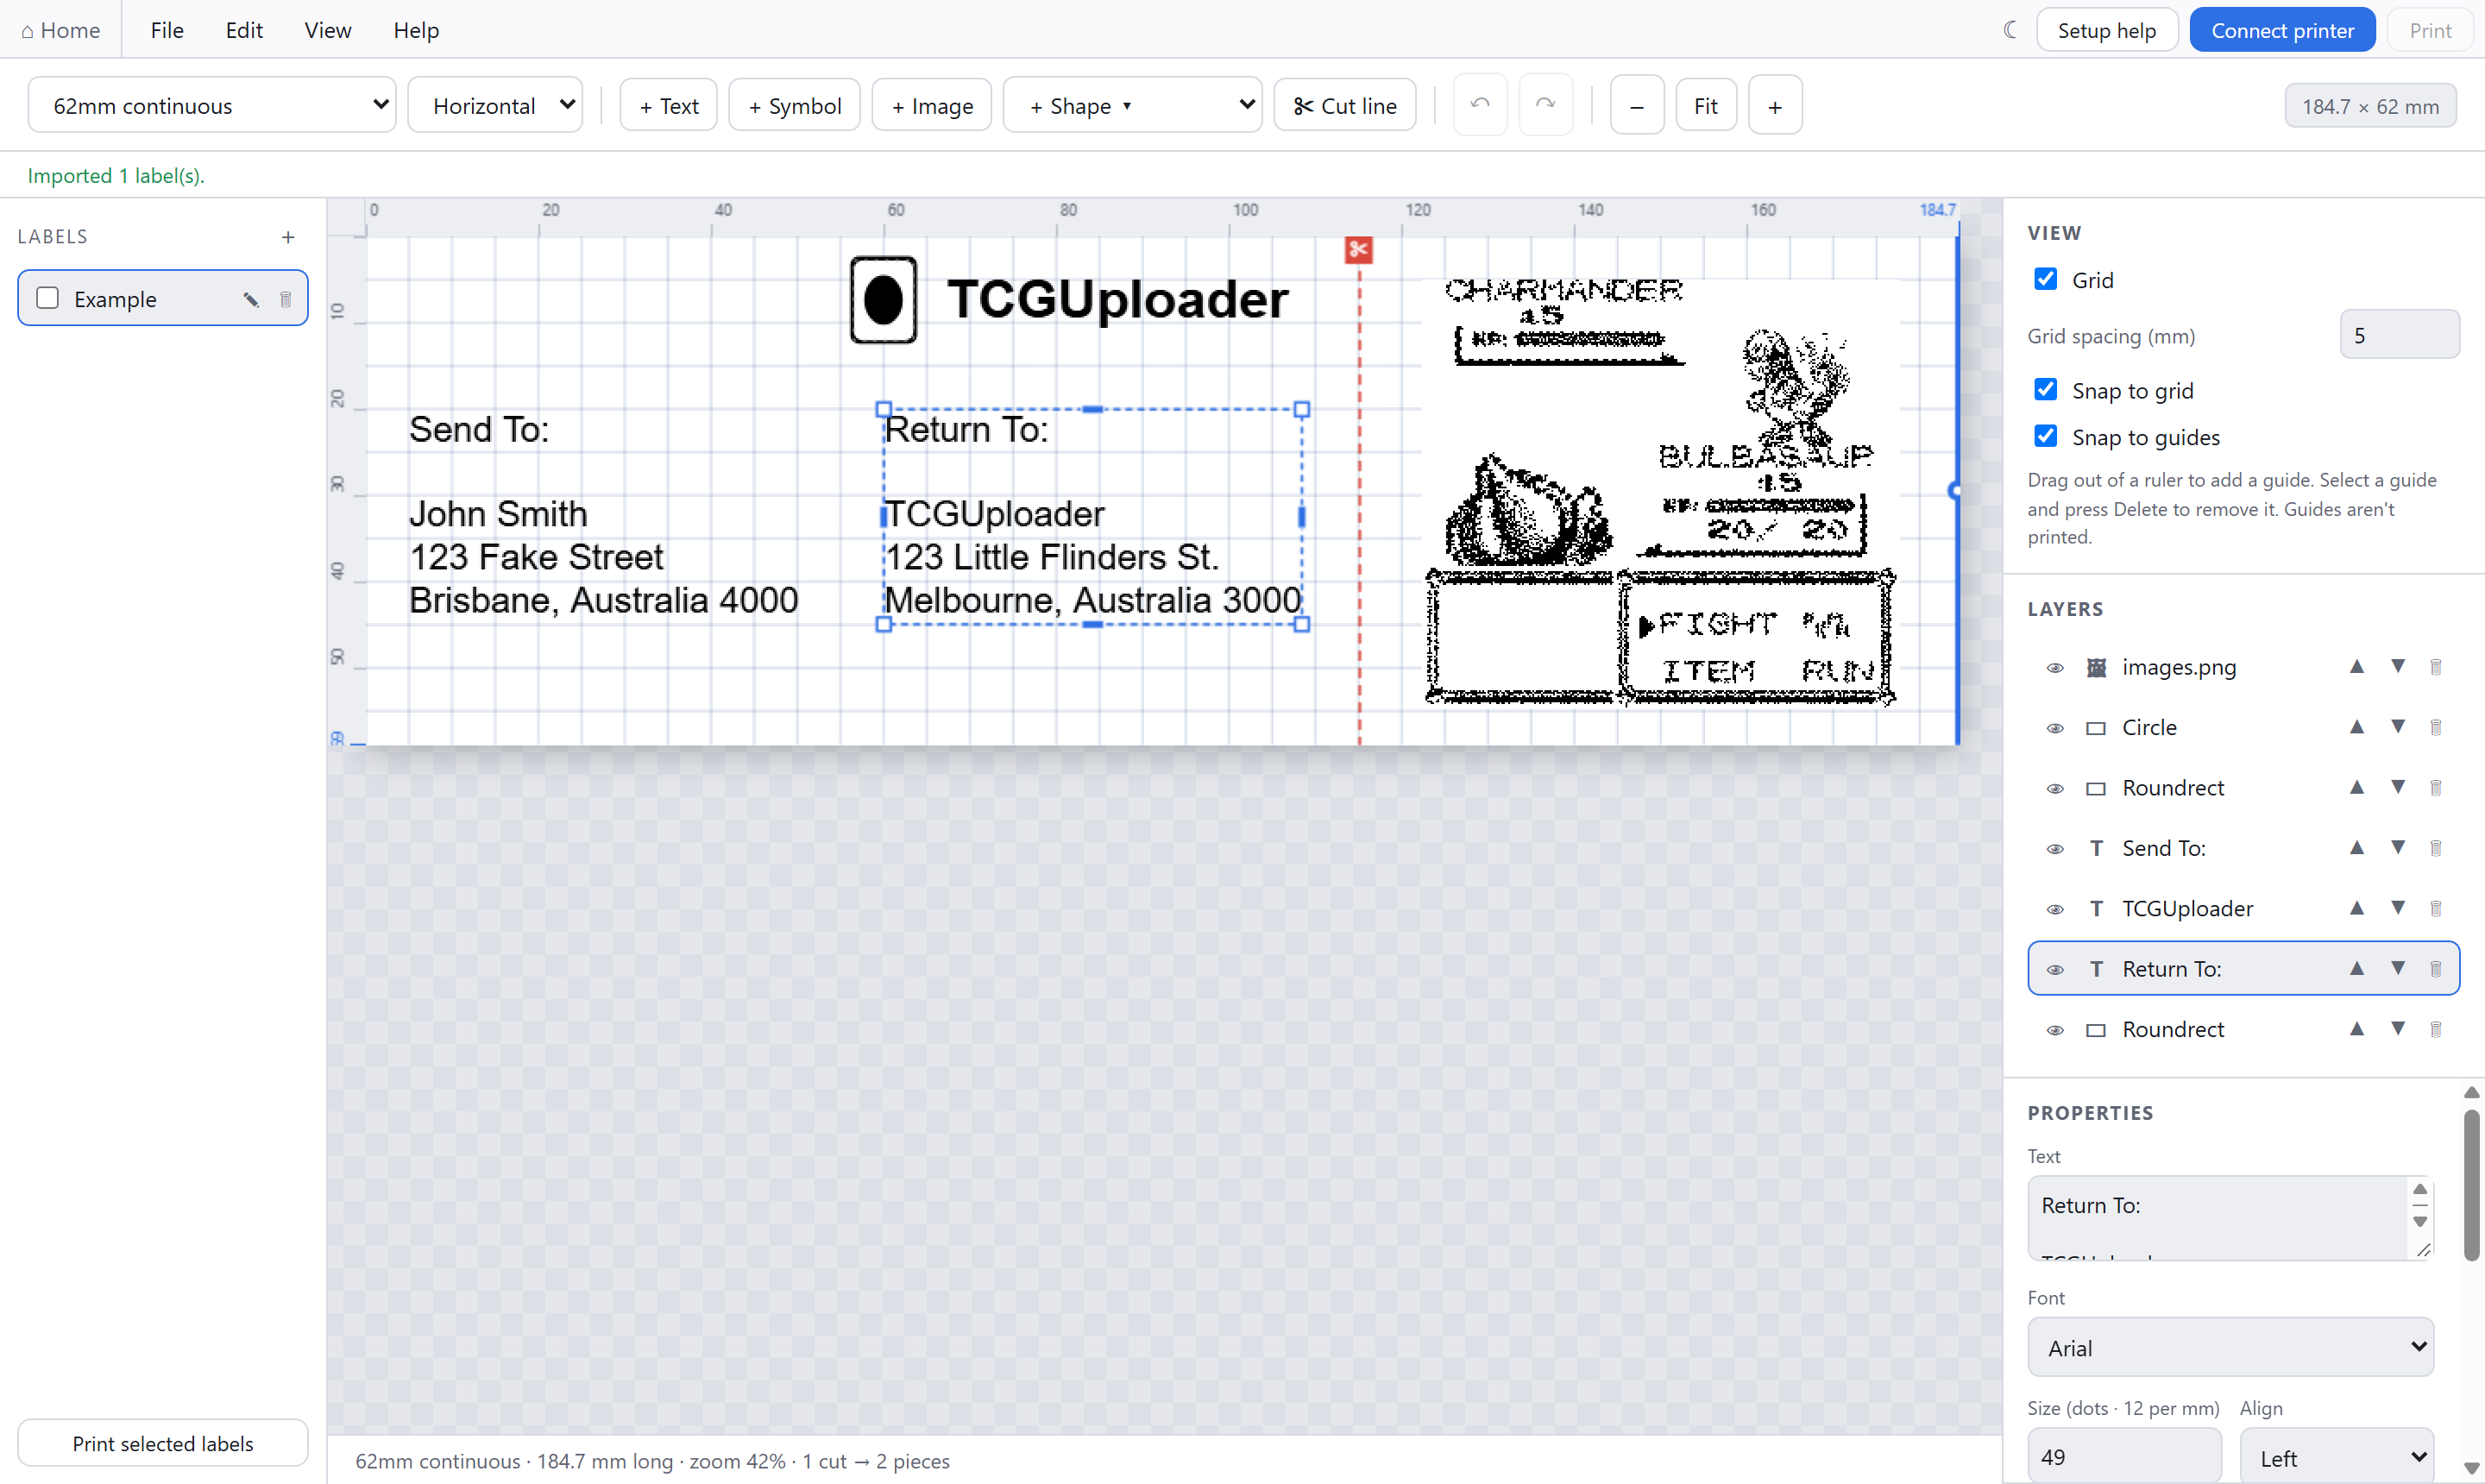
The editor UI
Click the numbers below to see what each section does.
Print a label
-
Ensure the correct paper roll is selected in the editor. A flashing red light on the printer nearly always means it doesn't match the loaded roll.

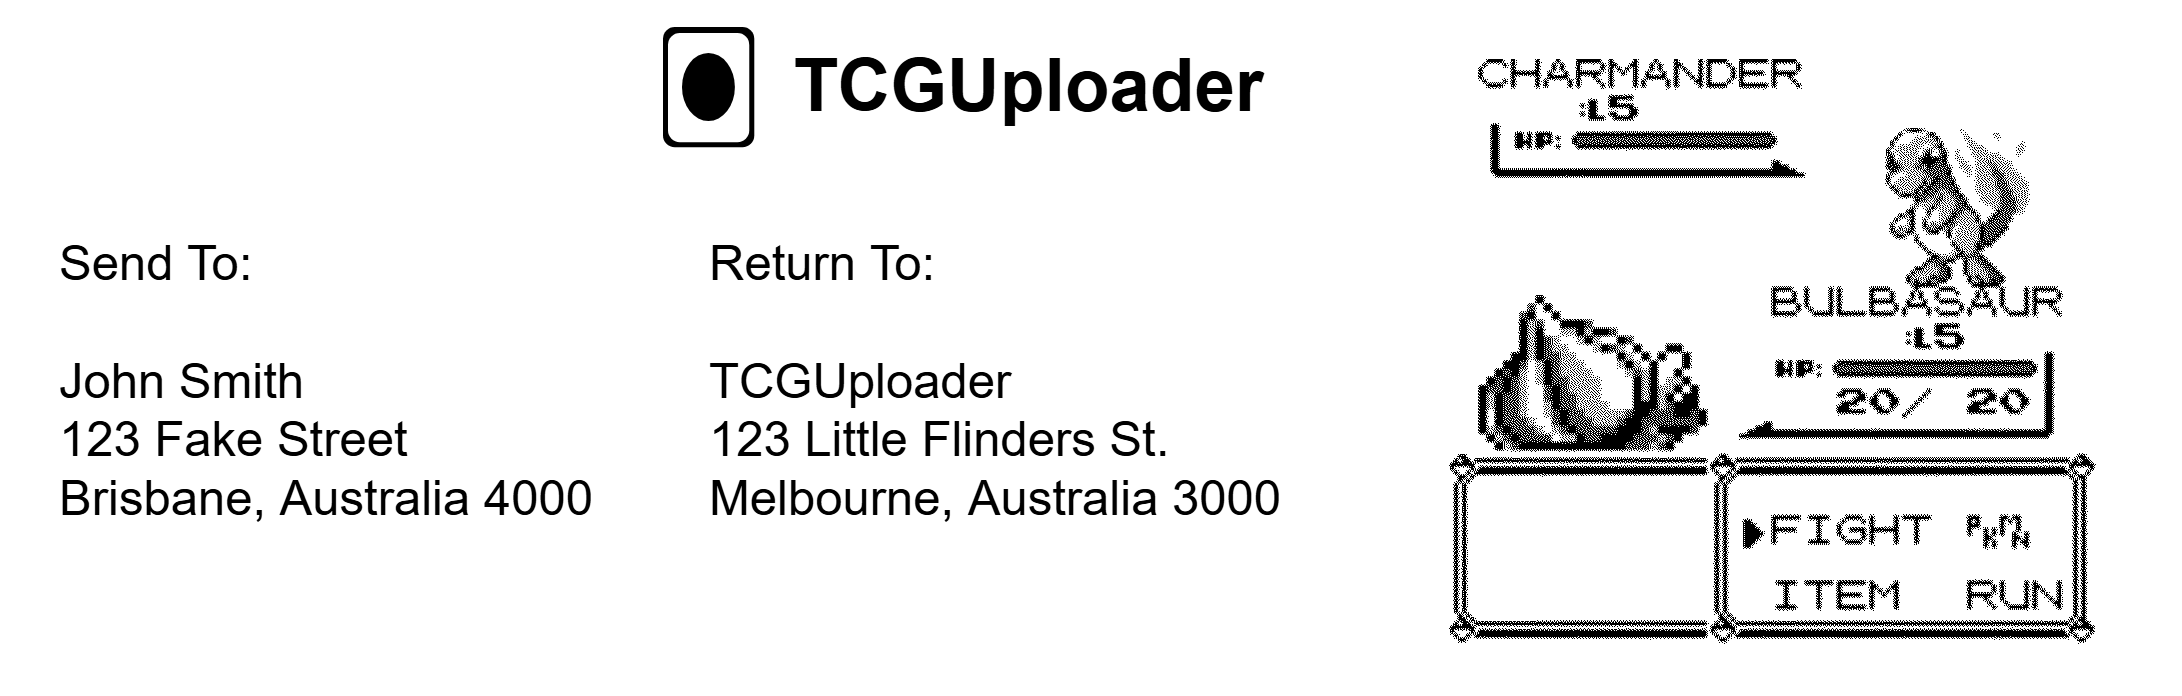
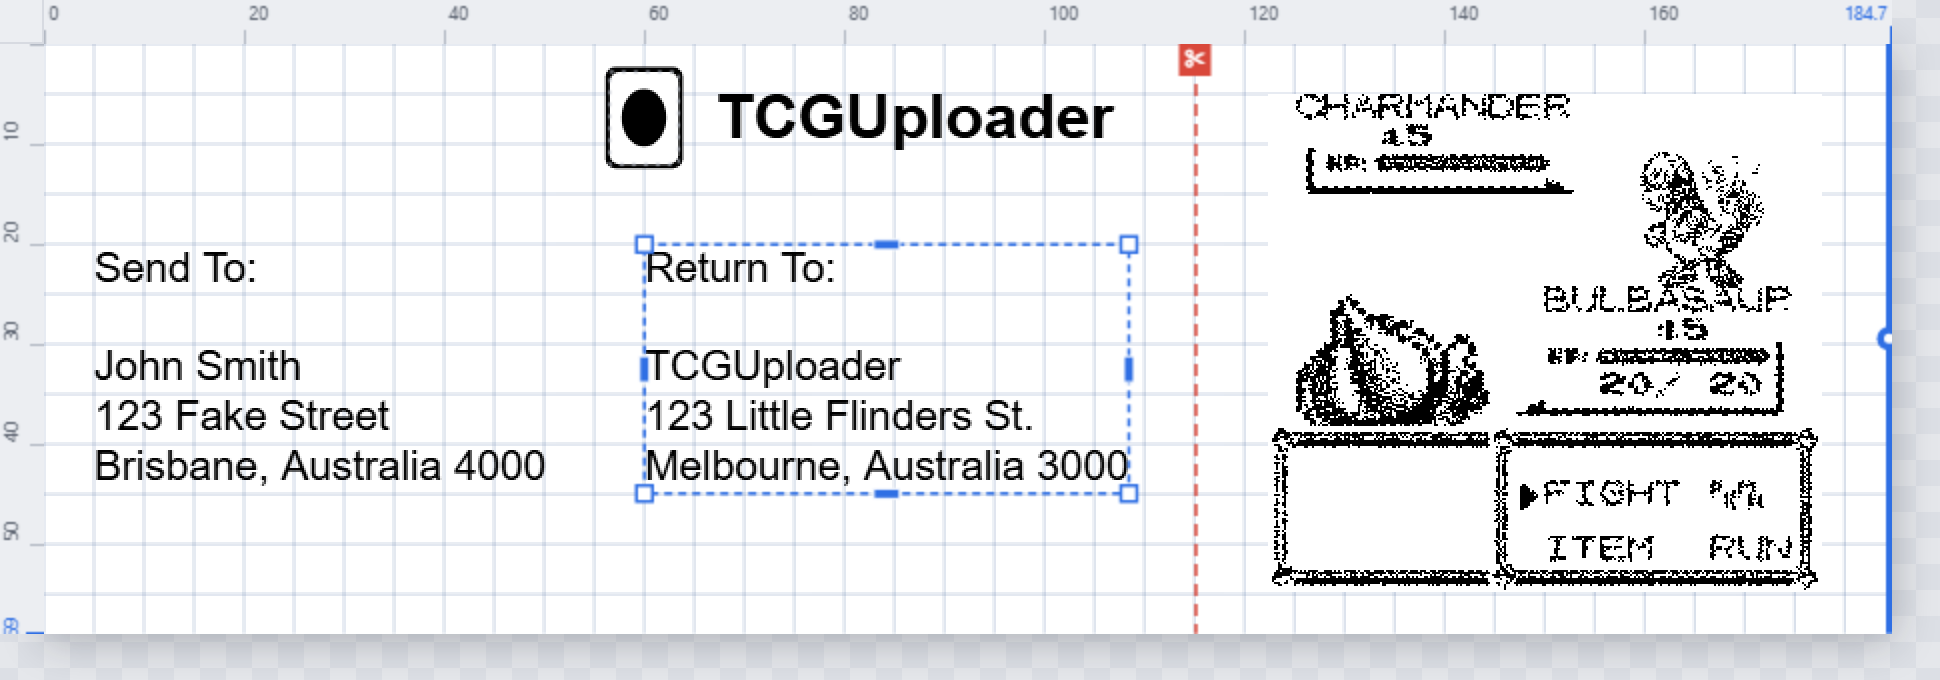
Add elements to your label via the buttons in the toolbar. Text, symbols, images and shapes; edit them in the Properties panel and drag them into place.
Add cut lines to separate different labels. Each piece prints and cuts in sequence.
-
Connect printer, then Print. Choose QL-700 in the browser's device list. Chrome remembers it, so next time it reconnects on its own.

Print the same design using multiple text templates
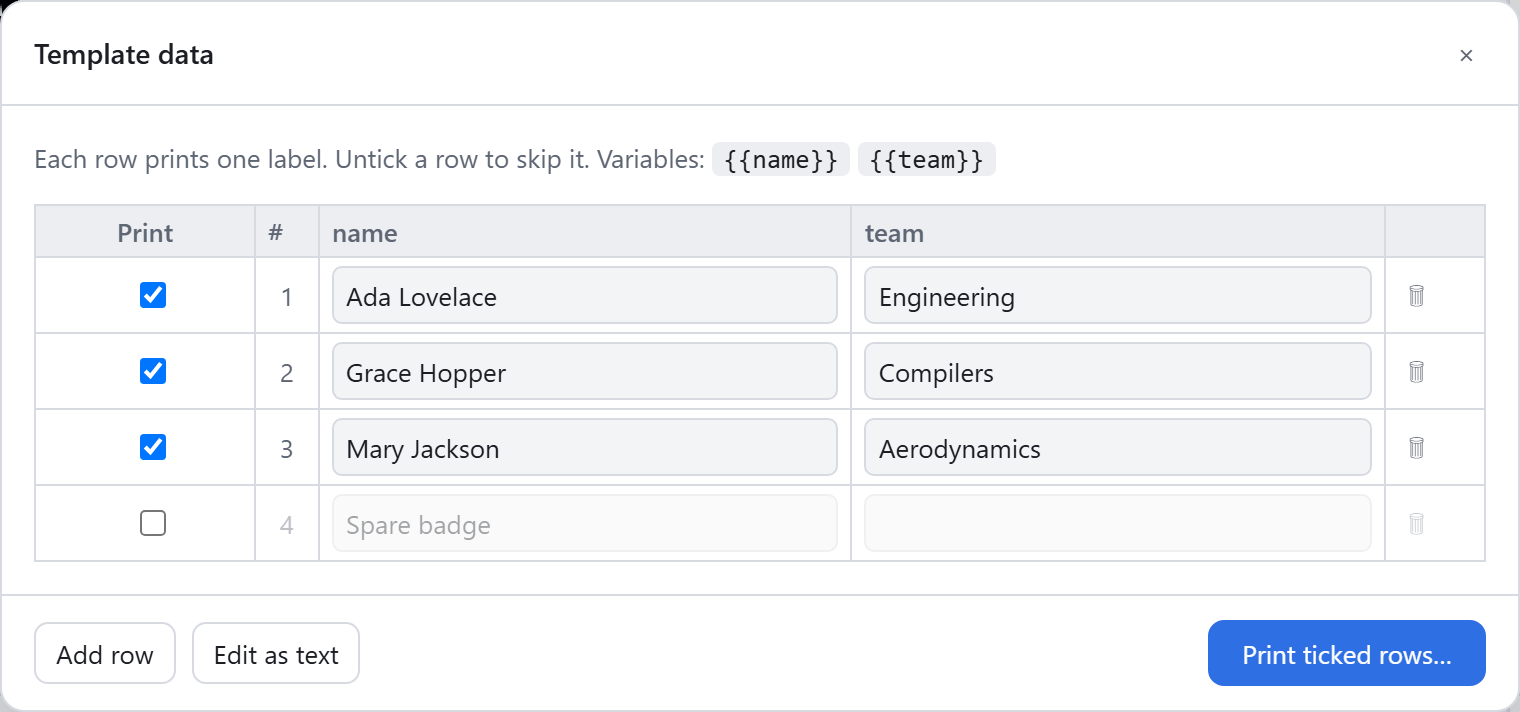
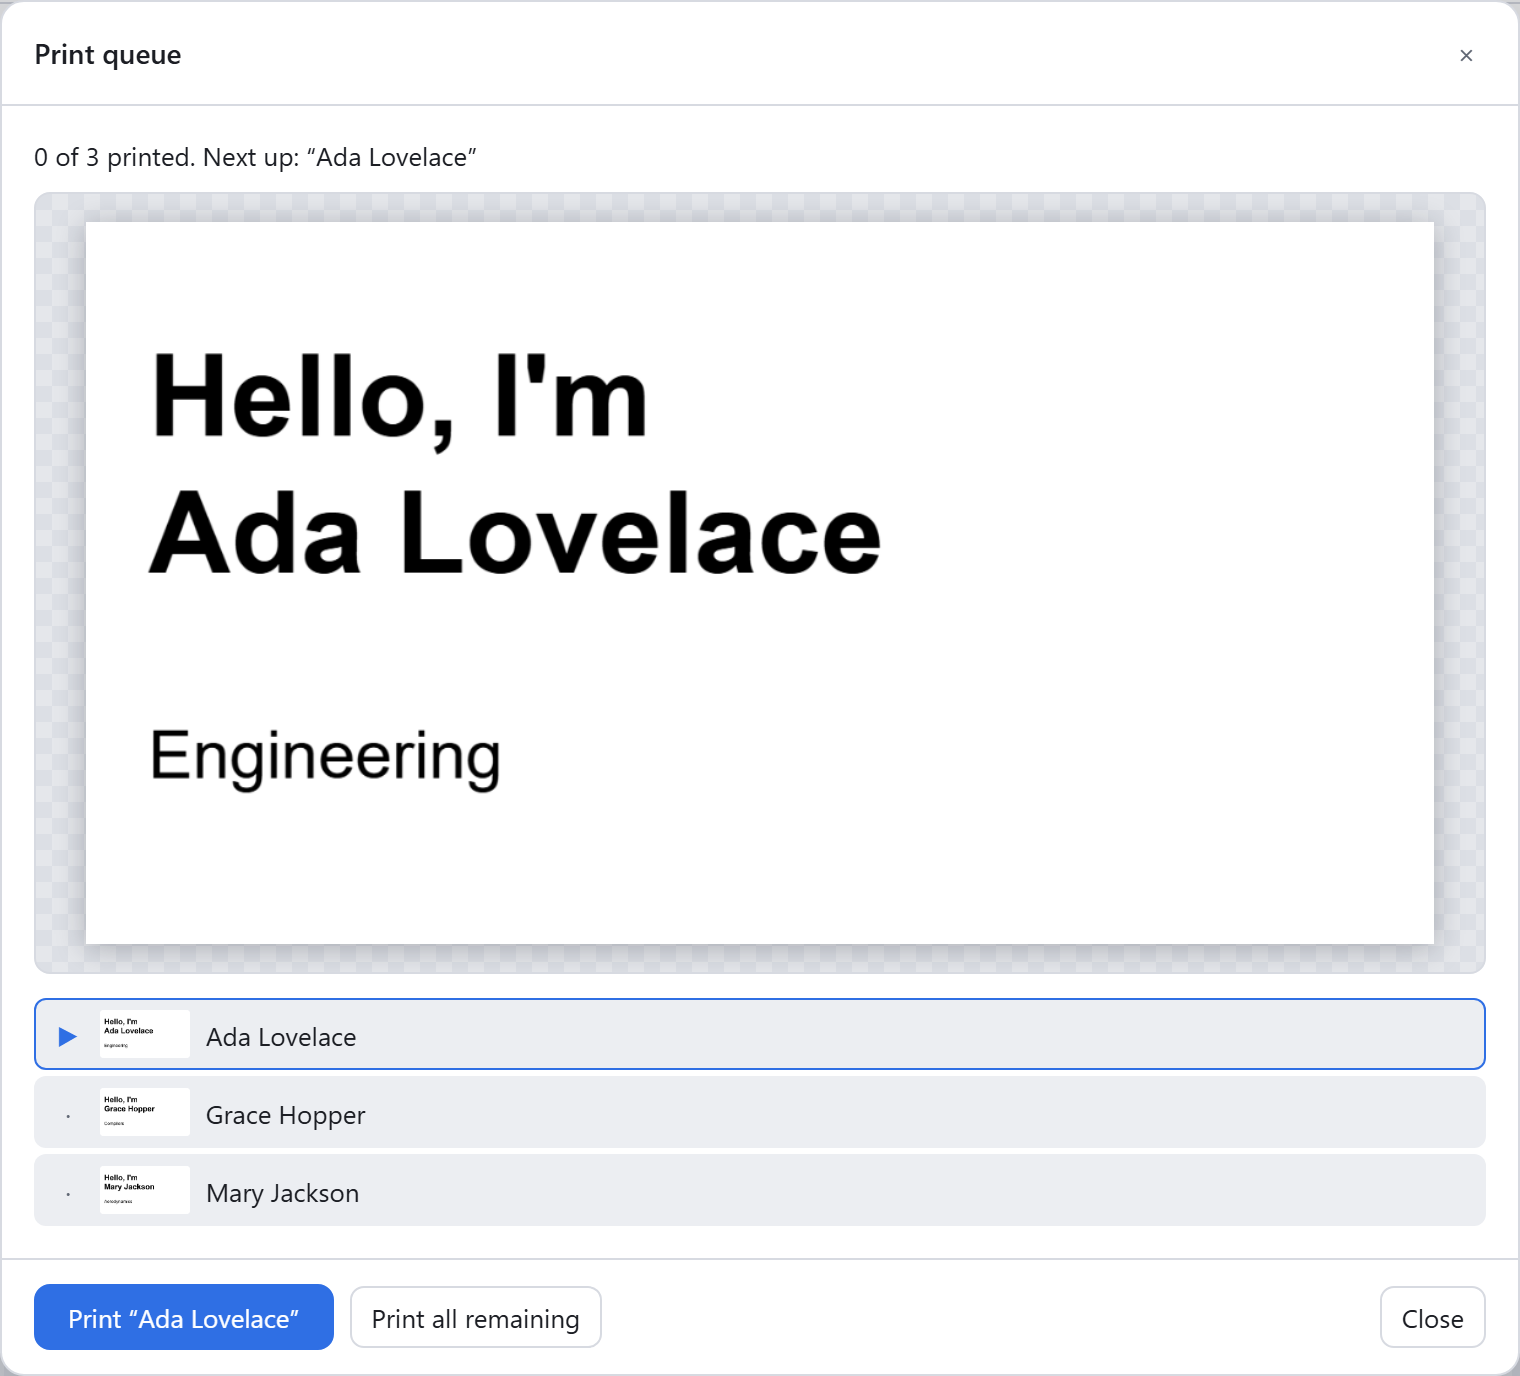
Use {{name}}-style variables to define fields in your label template, then use File → Template data… to define the content for multiple labels. One row is one printed label; untick a row to skip it. Print ticked rows… opens the queue, where you step through with a preview of each label or let it run.
Set up the printer
- Use Google Chrome or Microsoft Edge. Sadly, Firefox and Safari don't support WebUSB, which is required for the browser to connect to your printer.
- Turn off “Editor Lite” mode on your printer. Hold the QL-700 printer's Editor Lite button (the small button beside the Power button) for about a second until its green light turns off.
- (Windows only) Install the WinUSB driver on your printer using Zadig. This tool doesn't work with Brother's native drivers, so Zadig is used to give it a generic driver instead. This is non-destructive — if you want to undo it later, follow the instructions in the reset section below.
- Run Zadig · Options → List All Devices.
- Select QL-700. The USB ID must read
04F9 2042. If it says2049, Editor Lite is still on — go back to step 2. - Target driver WinUSB → Replace Driver. Unplug and replug the printer.
- Connect to the printer. Open the editor in Google Chrome or Microsoft Edge and click Connect printer. Choose the QL-700 device.
- Ensure the correct paper type is selected and print a test label. If the Status light on your printer turns red, it's likely that the selection in the app doesn't match the installed label roll.
Reset your printer to its defaults
To use Brother's software again:
- Open Device Manager
- Click on Universal Serial Bus devices
- Right click QL-700 → Uninstall device
- Replug the printer
If Windows doesn't restore Brother's driver by itself, reinstall it from support.brother.com. You can re-run Zadig whenever you want to come back.
Problems
- The printer isn't shown in the device list
-
- Ensure the “Editor Lite” indicator is turned off on your printer (follow the instructions in Set up the printer).
- Unplug your printer and plug it into another port.
- Try using another USB cable.
- Close any other label programs or instances that may be holding the printer open.
- Red flashing light
-
- Ensure the selected paper type in the editor matches the installed roll.
- Ensure the paper roll isn't empty.
- Ensure the printer cover is properly closed.
- Press the “Cut” button to clear the error and try again.
- Images look speckled or low quality
- The label printer is black and white only. Coloured images with high detail may not print well. Prefer simple and high-contrast artwork when adding images.
- My labels vanished
- The label editor stores your data in the browser, and may not be persistent. To avoid losing your data, click File → Export all labels… to back up the workspace, and then File → Import label file… to restore it at a later date.
- Other printer support?
- This tool was built and tested on the QL-700 printer, but other similar printers may work. Your mileage may vary. Feel free to open a pull request to make changes or add support for other printers at the link below.